
ArcGIS Collector is a useful tool for collecting data in the field. With the Collector for ArcGIS app available in both iOS and Android platform, capturing accurate spatial data becomes so much easier.
Below are the steps on how to use the Collector for ArcGIS and how you could integrate it seamlessly into ArcGIS Online.
PART 1
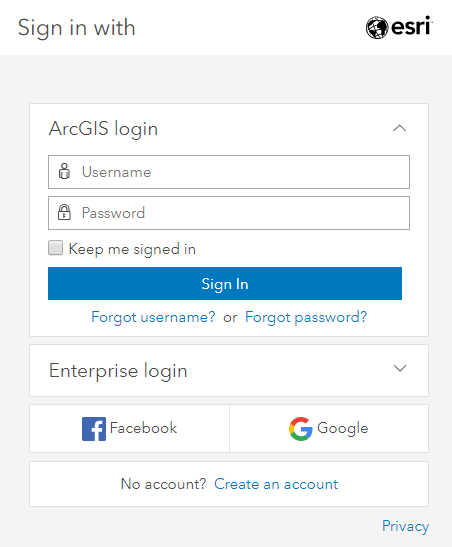
- Make sure you have an ArcGIS Online or ArcGIS Enterprise account. If you do not have an account, click “create an account.”
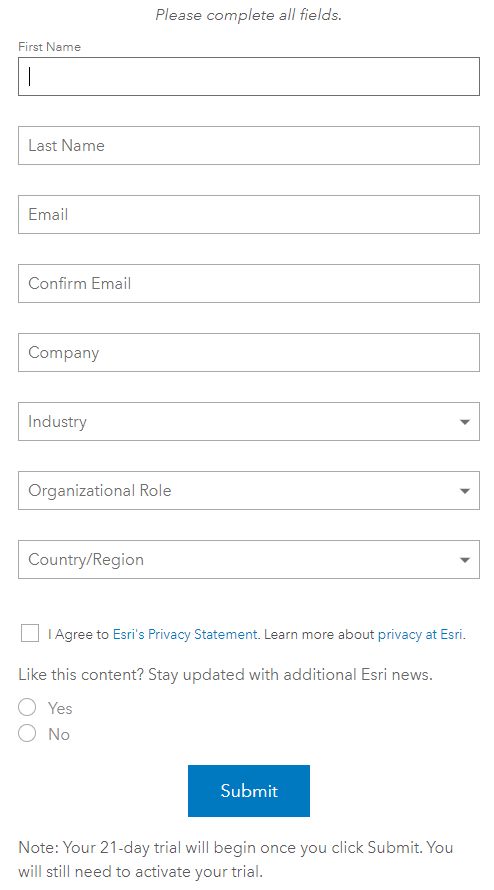
2. You could start with the 21-day trial. Complete all fields and hit “Submit”.
3. Check your email for the trial account activation.
4. Follow the next steps to complete the registration and the account.
5. Once your account if active, sign in to your ArcGIS account in a browser (ArcGIS Online or your ArcGIS Enterprise portal).
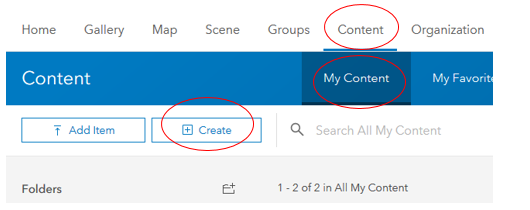
6. In the ArcGIS Online, go to Content, and in My Content click Create and choose Feature Layer to open the Create a feature layer dialog.
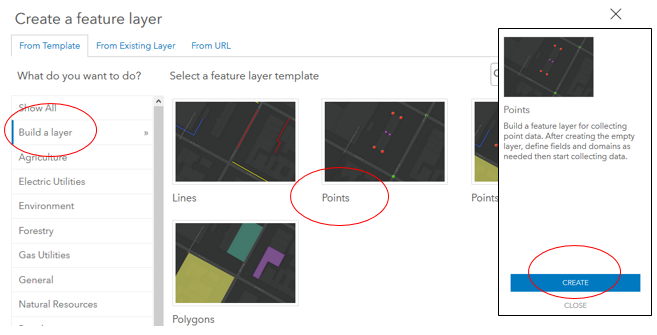
7. Select the Build a layer, select Points, and click Create. Note: Here you can also select other templates, depending on what type of data you are collecting in the field. For the sake of illustration, I am using here Points.
8. In the next window, you would have the option to select the “GPS Receiver” you would use. If you intend to use an external GPS receiver (in my case, I use Trimble’s R4) and not the default GPS on your mobile phone, then put a check on Capture GPS receiver information. Later, you need to connect your external GPS to your phone via Bluetooth.
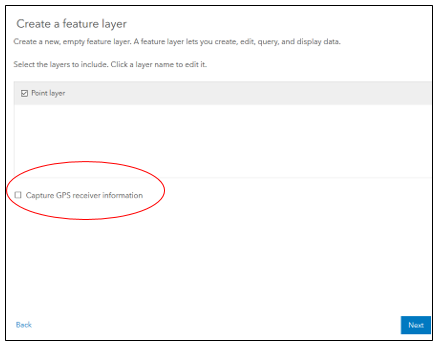
Also, if you want, you can click on Point Layer to rename it. Then click Next.
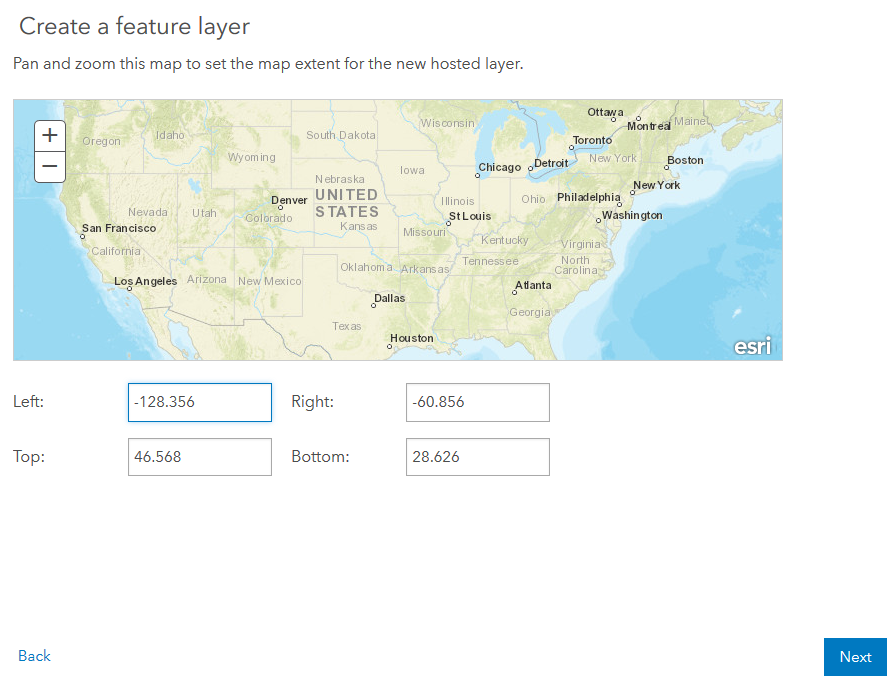
9. In the next window, use your mouse to set your extent. Zoom in to the location of your study area. This doesn’t have to be exact. Then click Next.
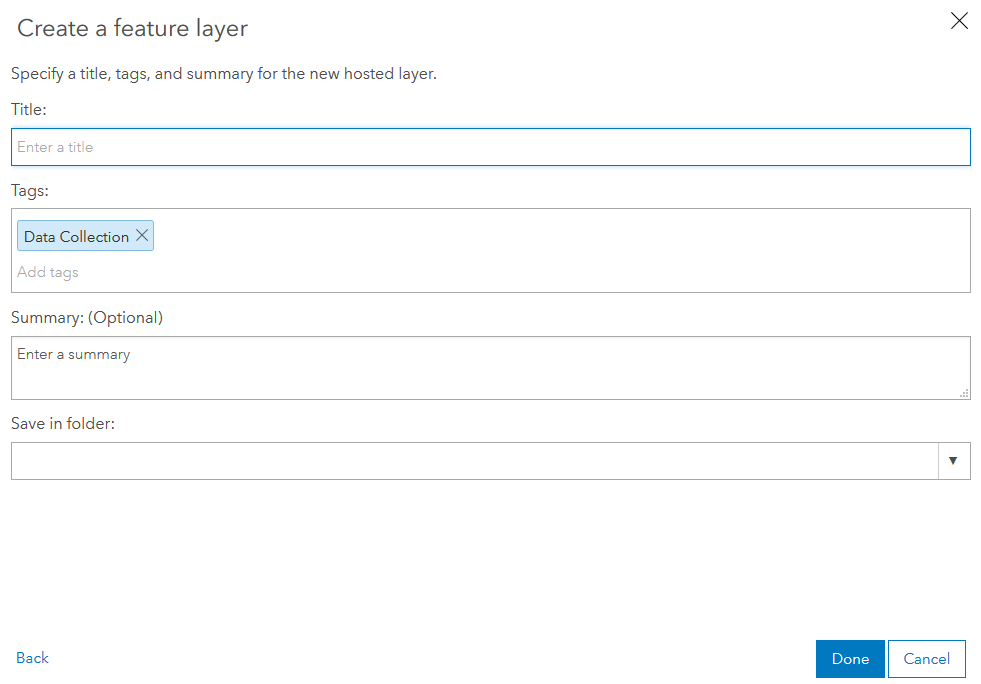
10. Provide a title of your point data, like Farm Soil Sample. Use a unique name so others in your group could easily identify the layer. Click Done.
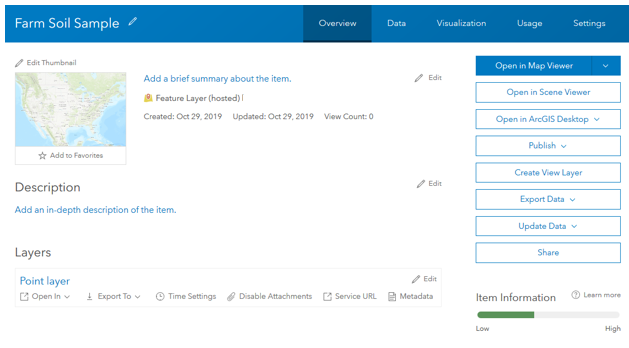
11. Your Farm Soil Sample layer is now created and its item page opens.
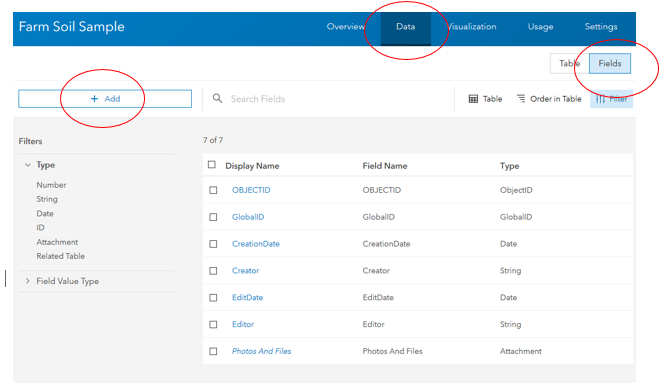
12. Next, you would now create the fields that define the form for the Farm Soil Sample layer. Go to the Data tab of the item page and go to Fields. Note: If you created two layers initially, you need to verify that Farm Soil Sample is chosen in the list of layers. In this example, I only created one layer, Farm Soil Sample, so it is automatically chosen. Then click Add.
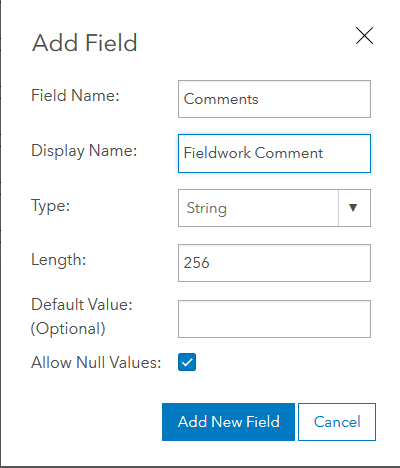
13. In the Add Field window, add the features/field you need to collect. Here I added a new field Comments. I chose String as Type. There are other choices in the Type dropdown menu (e.g. integer), so pick the type of data you want. Then click Add New Field.
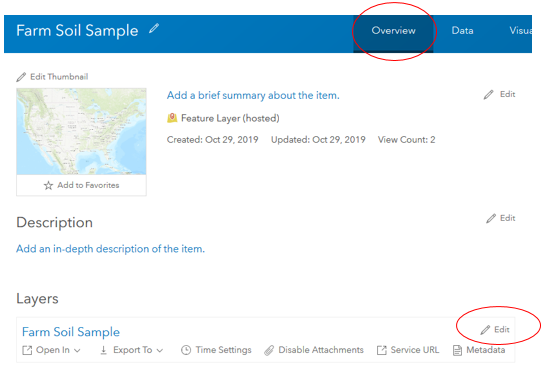
14. Now go to the Overview tab of the item page, and here you’d see the list of layers. In this example, I have Farm Soil Sample. In this page, you can also edit the name of the layer by clicking edit.
PART 2
Now, it is time to create a map.
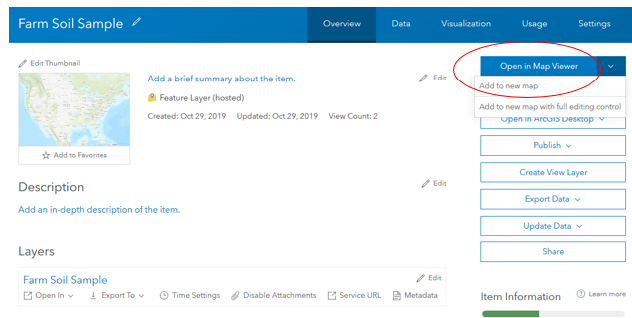
1. Still on the item page of your layer, in the drop-down list for Open in Map Viewer, choose Add to new map.
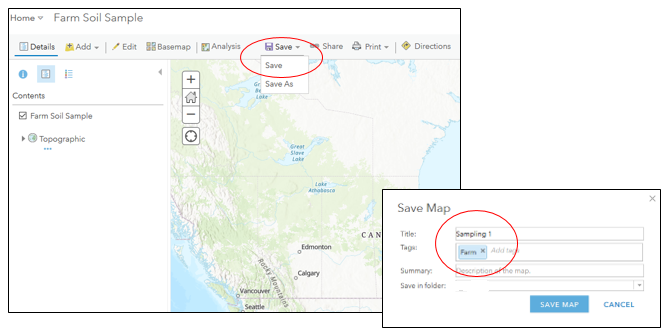
2. First thing, Save your map, and give it an appropriate title. Here I named my map Sampling 1 and gave it a tag Farm.
3. In the Contents panel, you have the options to change the style of your layer. Hover on the layer name and the options would appear.

4. Change and configure the symbols of your layer until you are satisfied.
5. And then click OK and click Done.
6. If made some changes, click Edit and then click Manage.
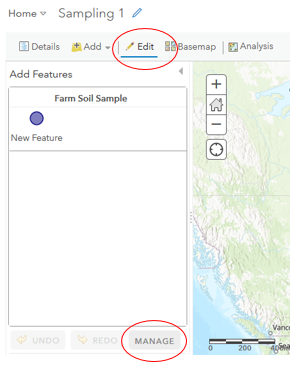
7. In the next window, click Save Changes.
Optional Steps
Follow these steps when you want to upload your own points to your ArcGIS Online map.
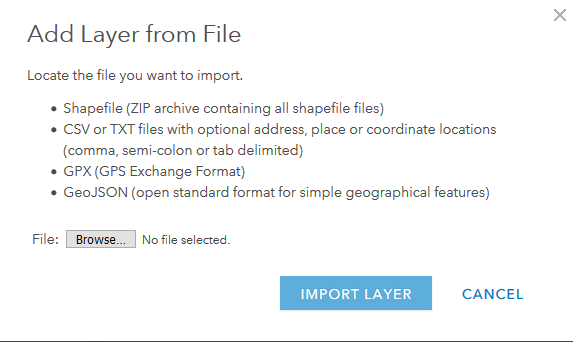
1. If you intend to upload a shapefile, make sure the components of the shapefile are zipped. ArcGIS Online only uploads files that are zipped!
Note: I created another guide on how to perform grid sampling using ArcMap. This sampling method would generate gridded points on your study area. These points could be converted to a shapefile and uploaded to ArcGIS online.
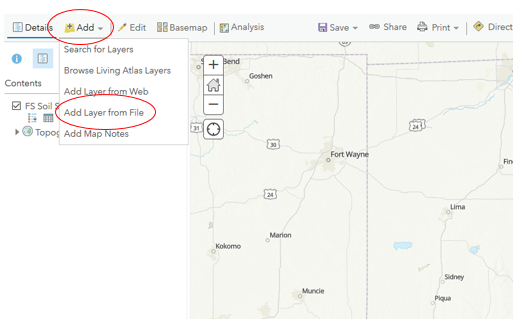
2. Go to you Sampling 1 map. Click Add, then Add Layer from File.
3. Browse for your shapefile. Then click Import Layer.
The shapefile points would now appear on your map.
4. If you have other files/shapefile to upload, just repeat the steps.
5. Do not forget to SAVE the map!
Part 3
Now you are ready to use the ArcGIS Collector App to Capture Data.
1. Download and open the ArcGIS Collector on your mobile.
2. Log-in if you haven’t done it yet or if the app would prompt you to log-in.
3. The app would automatically show the maps you created. In this example, the map I created is called Sampling 1.
4. Choose the map you just made, Sampling 1.
5. This will open a map with your current location. This will also show the point shapefile you uploaded.
6. Now, start walking in your study area and add the sampling points you need. To do this, click on one point from your uploaded shapefile and go to that point. Once you reach the location of that point, press “collect here”, then “update point”. Add the necessary information of your newly added point, such as comments, etc. Click “submit” to save the data collected.
7. Repeat step 6, this time to another point from your uploaded shapefile. Do the same for the rest of the points.
8. There is also an option to add an attachment or a photo each time you add a new sampling point.
9. All the points you added on the app would appear on your ArcGIS Online or ArcGIS Enterprise account.
Part 4
To download the points you collected on the field, log-in to your ArcGIS Online or ArcGIS Enterprise account again.
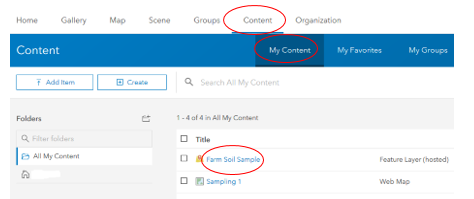
1. Go to Content, then My Content and click the feature layer. In this case Farm Soil Sample.
2. In the Farm Soil Sample page under the Overview tab, click on Export To. Export the type of data you need.
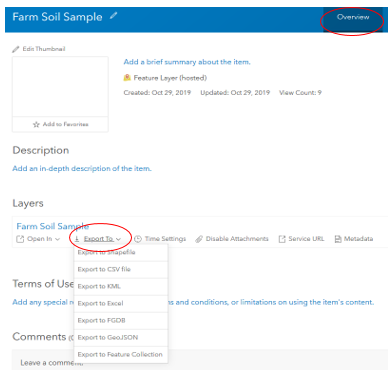
And that’s it!
If you have questions, leave a comment below.